App tutorials · Lesson 3 of 10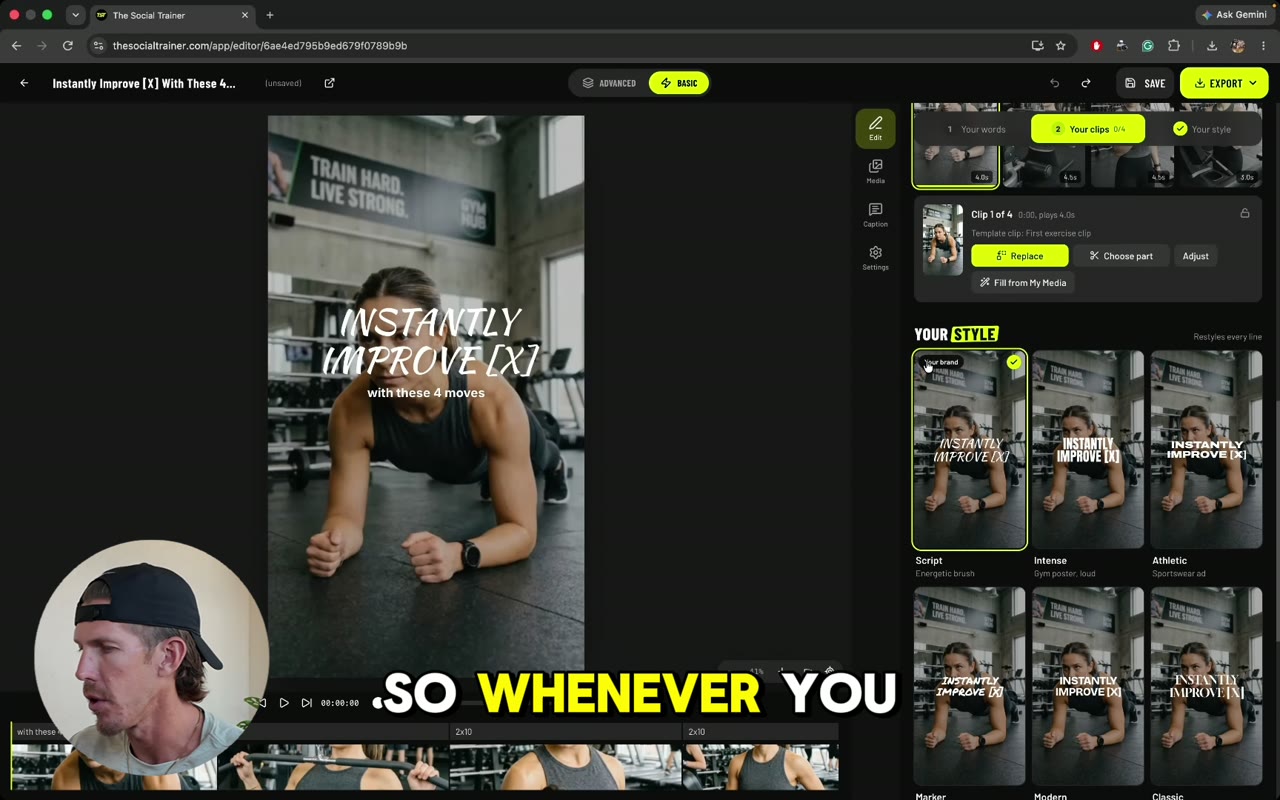 Next · 9:21Authority posts
The Image Editor
The Image Editor turns a template into your own post. Learn Basic and Advanced, your font, your text and photos, then saving and scheduling.
In this video
Step by step
- 1Start in Basic. Switch to Advanced only when you need to move or resize something.
- 2Pick your font under style. Your Brand Kit font is selected for you.
- 3Rewrite the text on each slide for your niche.
- 4Replace each photo with one from your My Media folders.
- 5In Advanced, make a photo bigger or adjust how dark it is so the text is easier to read.
- 6Save to come back later, or export to download, schedule or auto-publish.
- 7Check the caption that’s written for you and save it.
Tips from Kyle
- Keep your text inside the orange guides so it stays in Instagram’s safe area.
- Do all the text first, then go back and do all the images. It’s faster.
- Stick with your usual font so your posts look consistent.
Next · 9:21Authority posts